Emission Maps
What are they for?
You can make materials glow a single color with the emissionColor variable, and change the intensity with the emissionIntensity variable - but what if you want different colors or intensities on the same material? That's where emission maps come in!
How do I use them?
To make an emission map for a material, use a file called [file-name]_emission_map, where [file-name] is the name of the file you're making an emission map for. For example, the emission map file for the rifle is rifle_emission_map. Note that you do need the normal texture as well, so a file named "rifle" would also be required. You also need to make a JSON file for the normal texture that has the emissionIntensity variable set.
The emission map uses the same UV map as the normal texture. The way it works is pretty simple - the brighter a pixel is on the emission map, the brighter the object will glow for that pixel. The brightness is multiplied by the emissionIntensity variable in the normal texture's JSON file. The color of the pixel is multiplied by the emissionColor variable (so if your emission color is white then the color of your pixel will not change).
Example
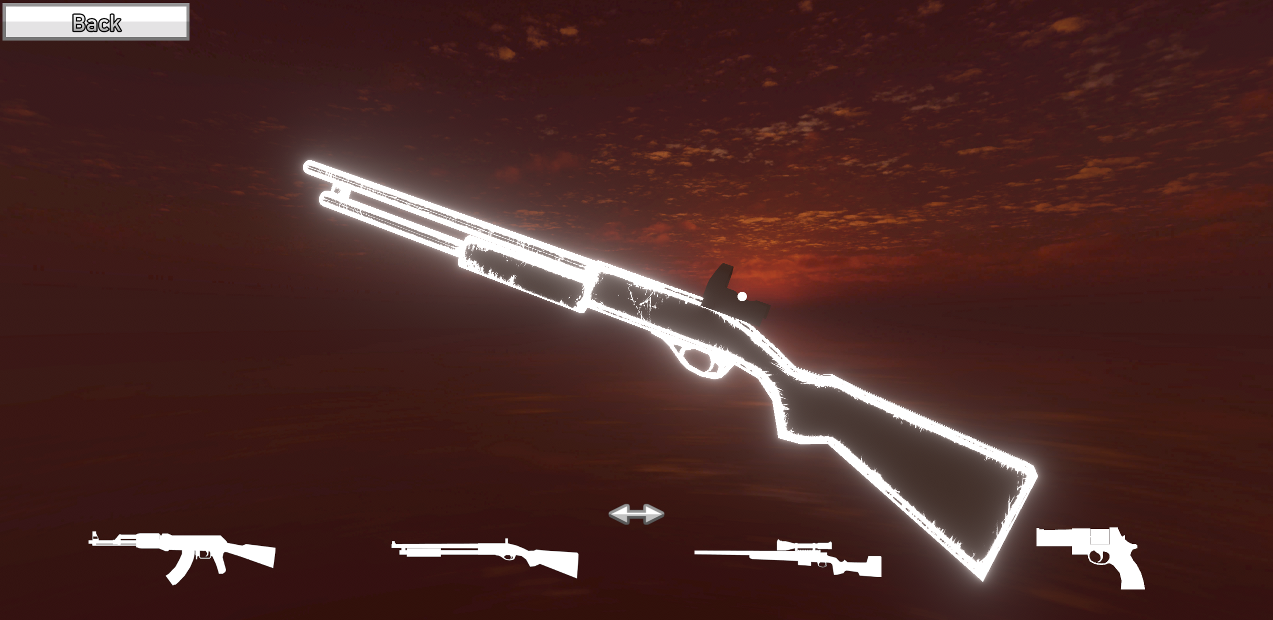
This is an example of an emission map used to make a glowing skin for the shotgun.
This is what the result looks like:
This is what the Resource Pack folder looks like:
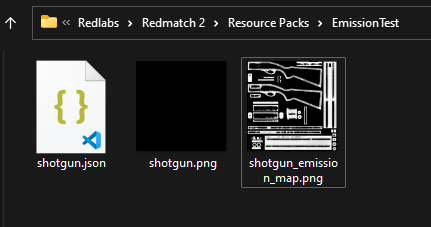
This is what shotgun.json looks like:
{
"emissionIntensity": 3
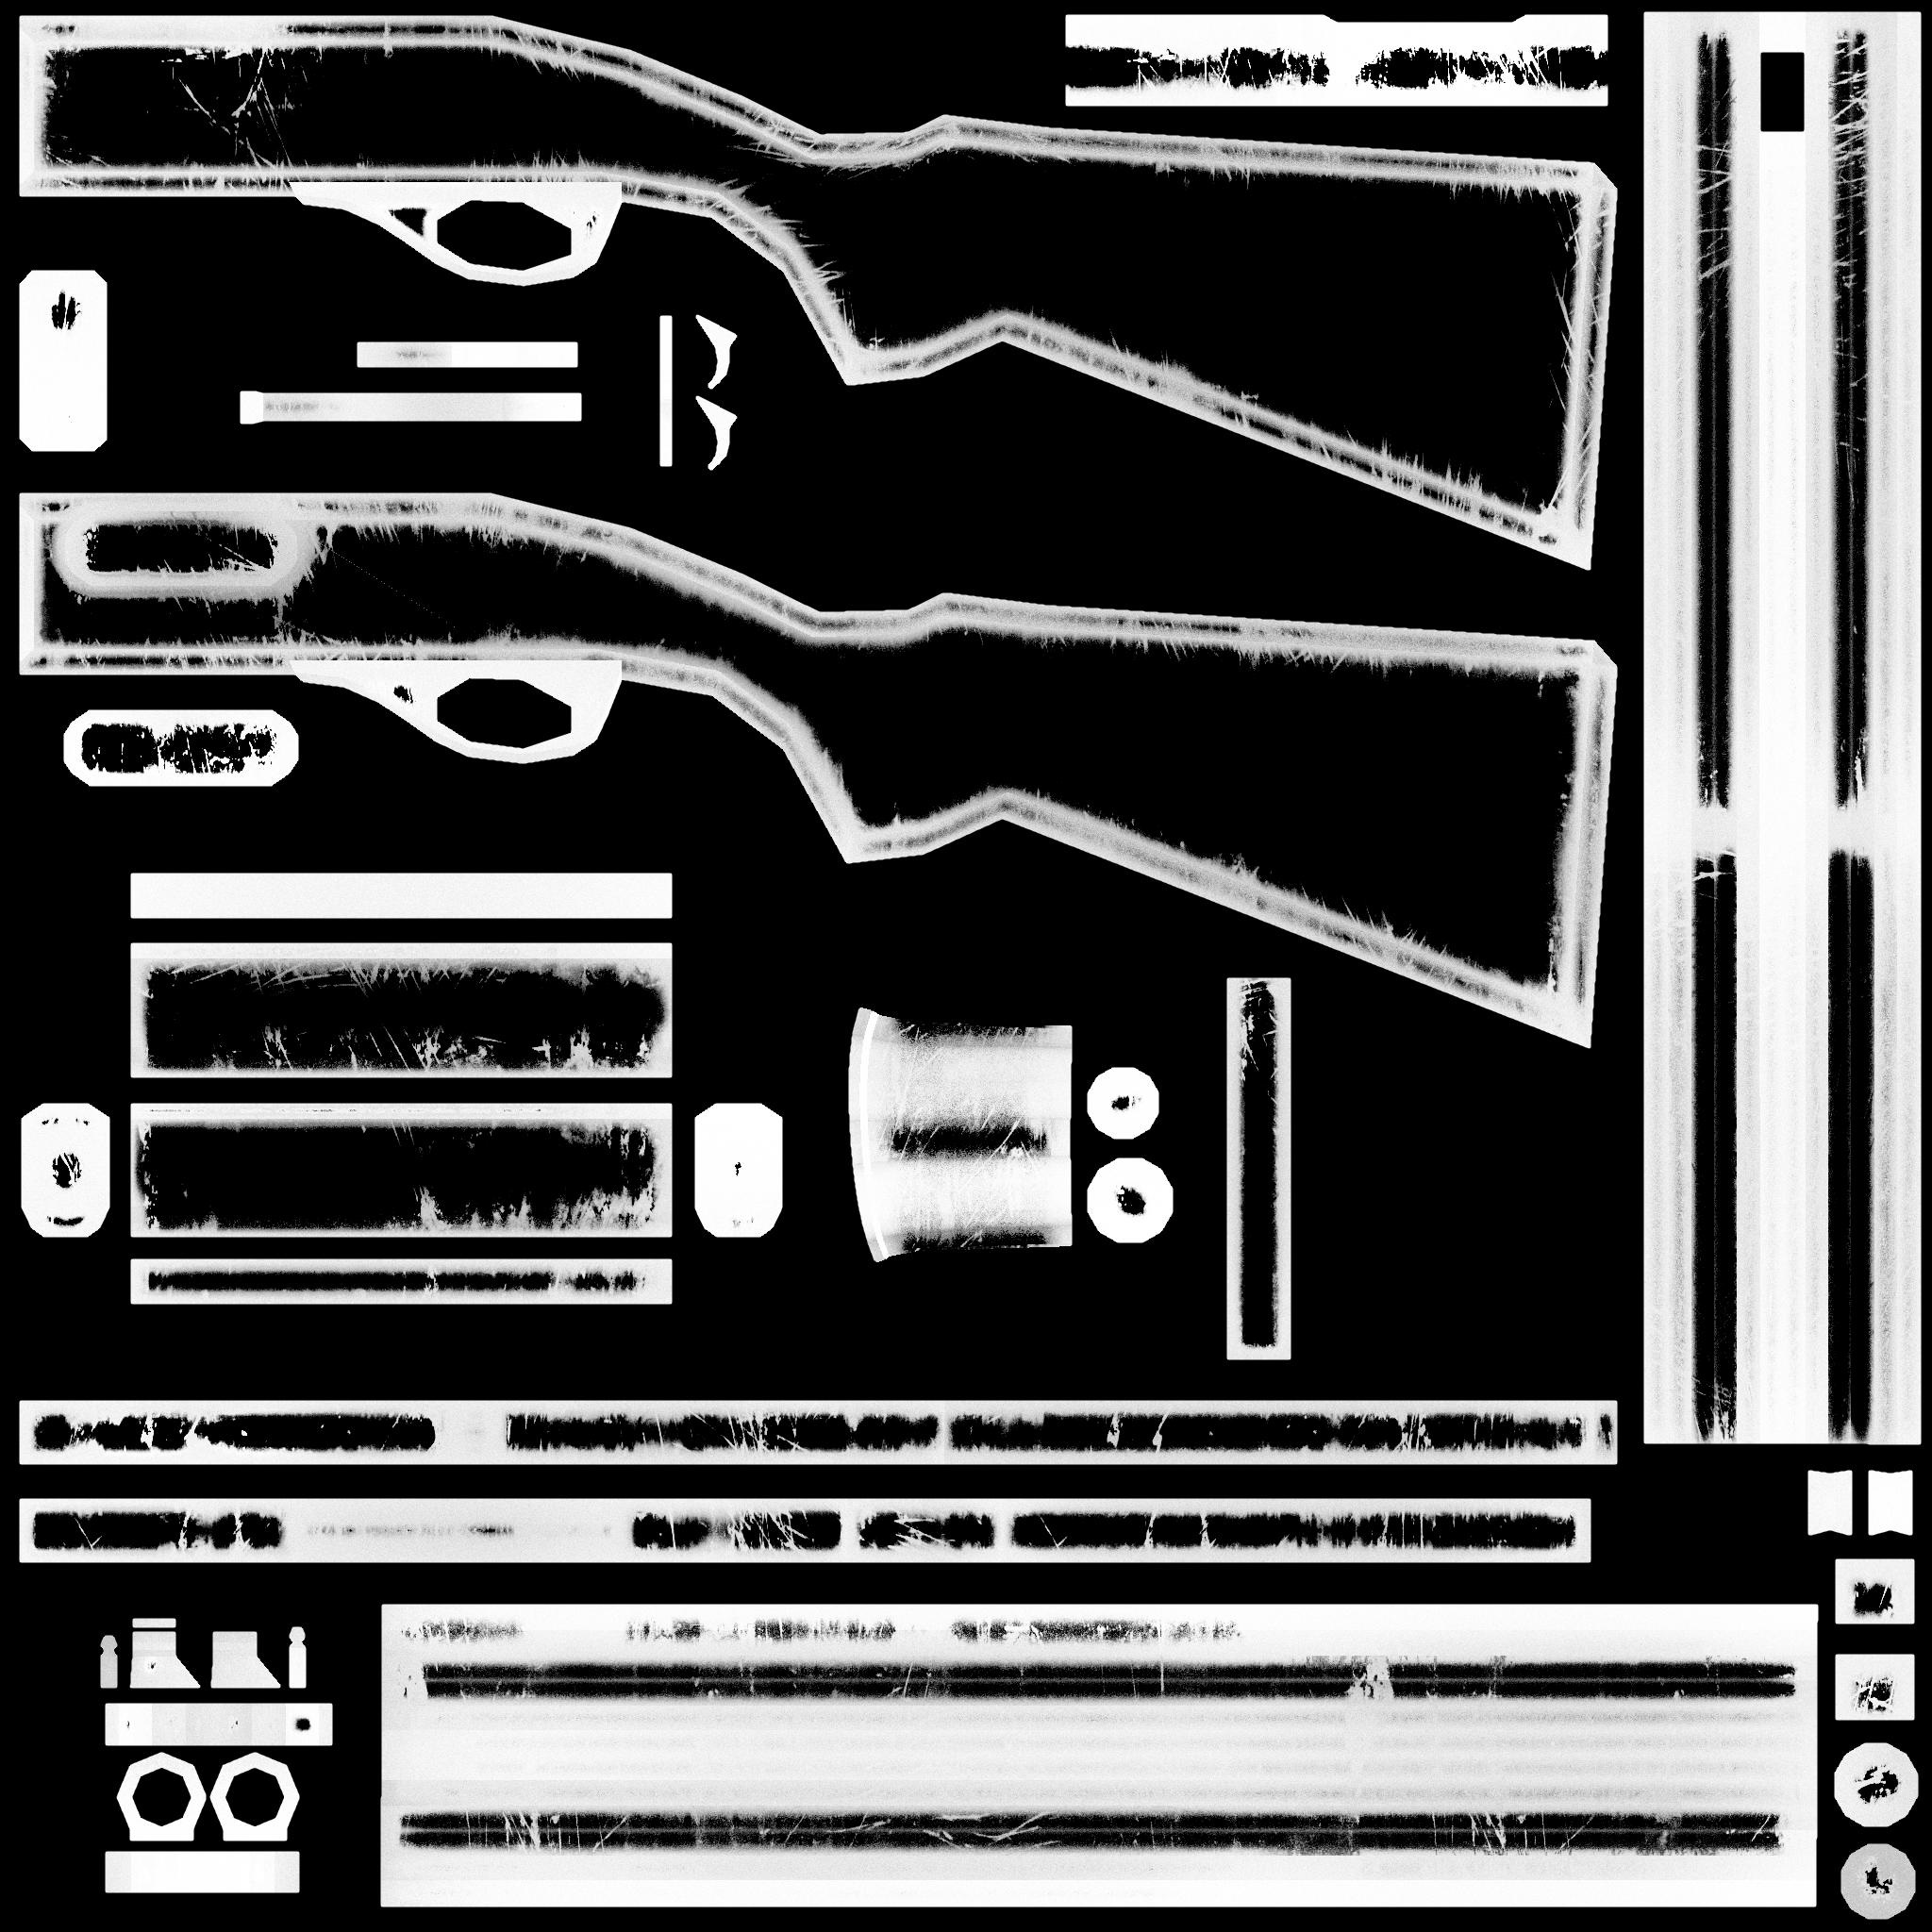
}This is what shotgun_emission_map.png looks like:
This texture was generated with a procedural material in Blender! All the Blender files are available to download on their file's page, so you can do it too.
And then shotgun.png is just a black square.